How to Mix Sourdough in a Spiral Mixer (Step‑by‑Step Guide)
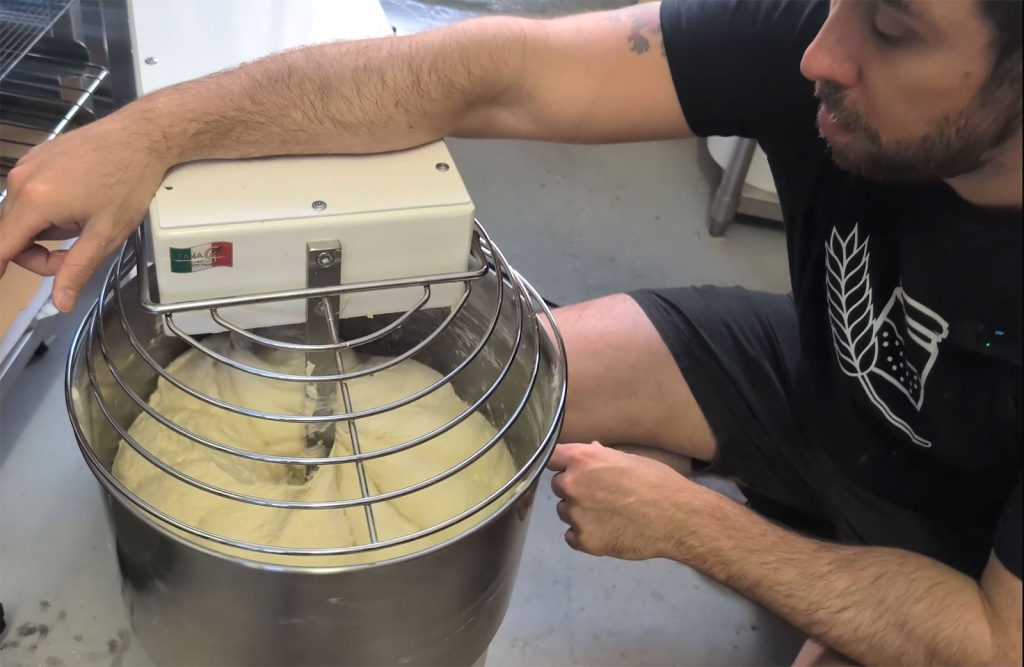
Mixing sourdough in a spiral mixer can be a game changer — but if you’re not careful, it can also ruin your dough. In this post, I’ll show you how to mix sourdough in a spiral mixer — mine is the Famag 20 (a 20 kg mixer) — step by step, with the full video linked at the bottom of the post.
I’ll also share my preferred dough temperature, mixing times, and a recipe you can scale from one loaf to multiple.
📋 Ingredients: Start with the Right Temperature
Getting your ingredients to the right temperature is one of the most important parts of the mixing process.
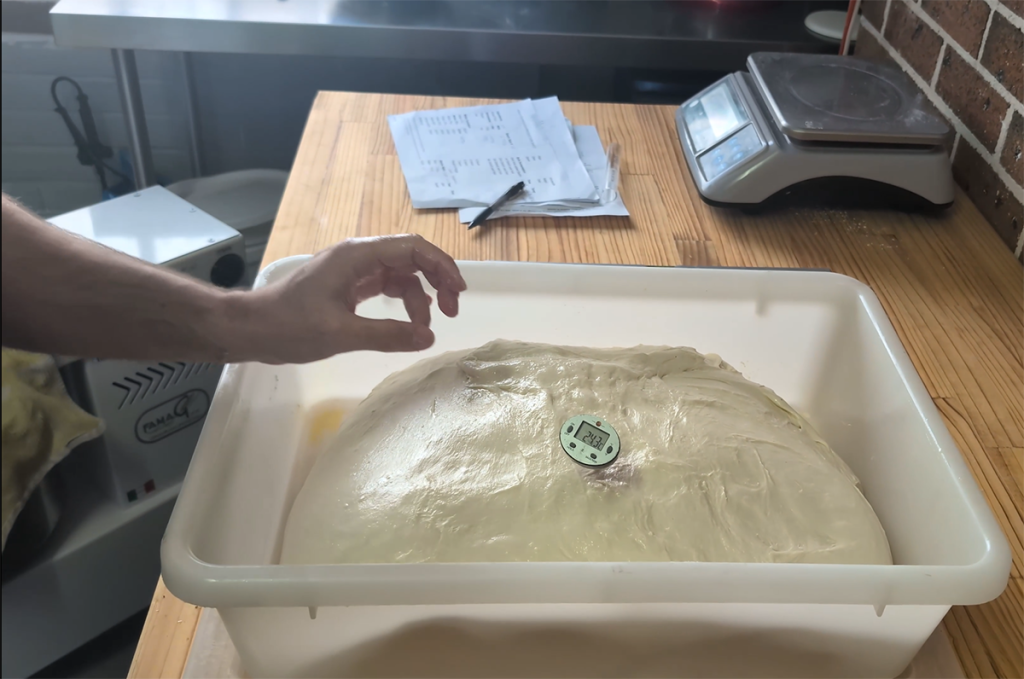
Target dough temperature: 24 °C to 26 °C (75 °F to 79 °F)
My sweet spot: 25 °C (77 °F)
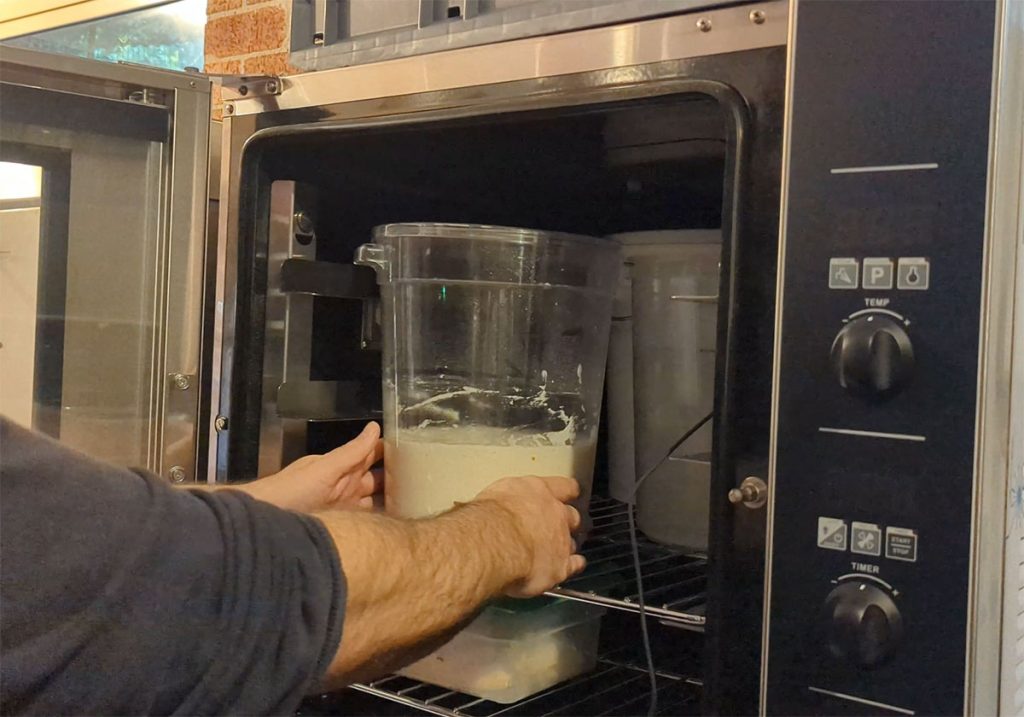
In cooler months, I leave my ingredients at room temperature or pop them into my homemade proofer (I’ve made a video about that, too). In summer, they usually sit in the right range naturally — unless it’s really hot. Then I’ll use cool water to bring the dough temp down.
If your flour has been stored in the fridge, this step is even more important.
🧪 Feeding the Starter: How I Prep Mine
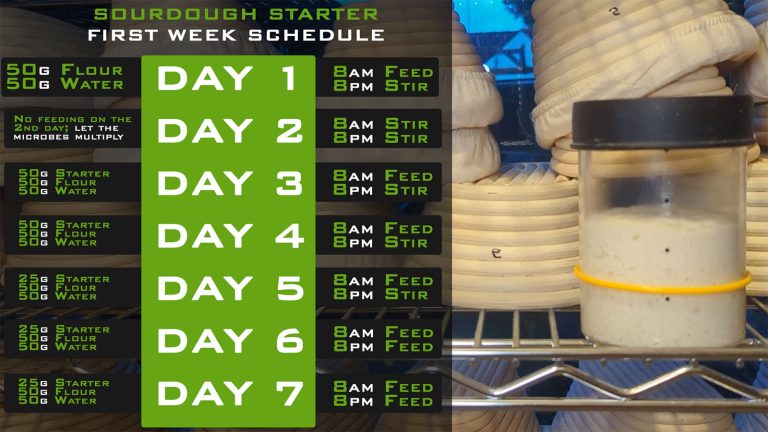
A healthy, active starter makes all the difference.
If my starter — Suzie — has been in the fridge, I give it multiple feeds to bring it back to life and reduce acidity.
My feeding approach:
- To reduce acidity: Feed at 1:10:10 (1 part starter, 10 parts flour, 10 parts water).
- Just before baking: I use 1:2:2 or 1:5:5 — these ratios let my starter triple in size.
Every starter behaves differently depending on flour, environment, and hydration. This is just what works best for me in my microbakery setup.
Step 1: Break Up the Starter
- Add about 95% of the water into the mixer bowl.
- Hold back the last 5% to dissolve your salt later.
- Add all of your sourdough starter as per your recipe.
- Mix on low speed for a few minutes until the starter is fully incorporated into the water.
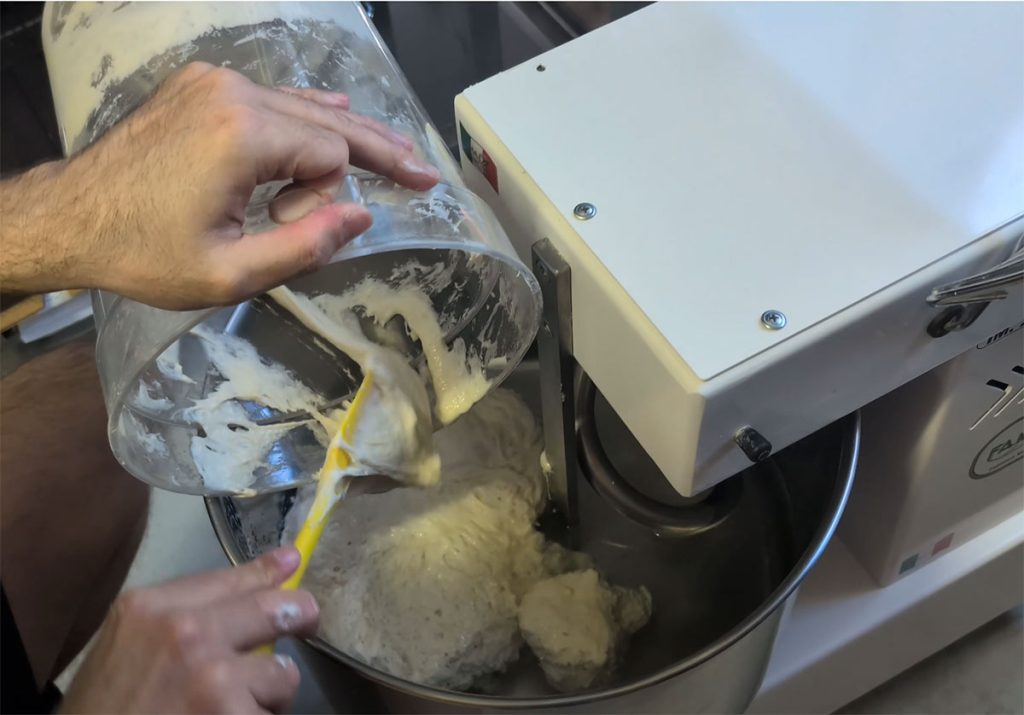
Step 2: Fermentolyse — How to Mix Sourdough in a Spiral Mixer
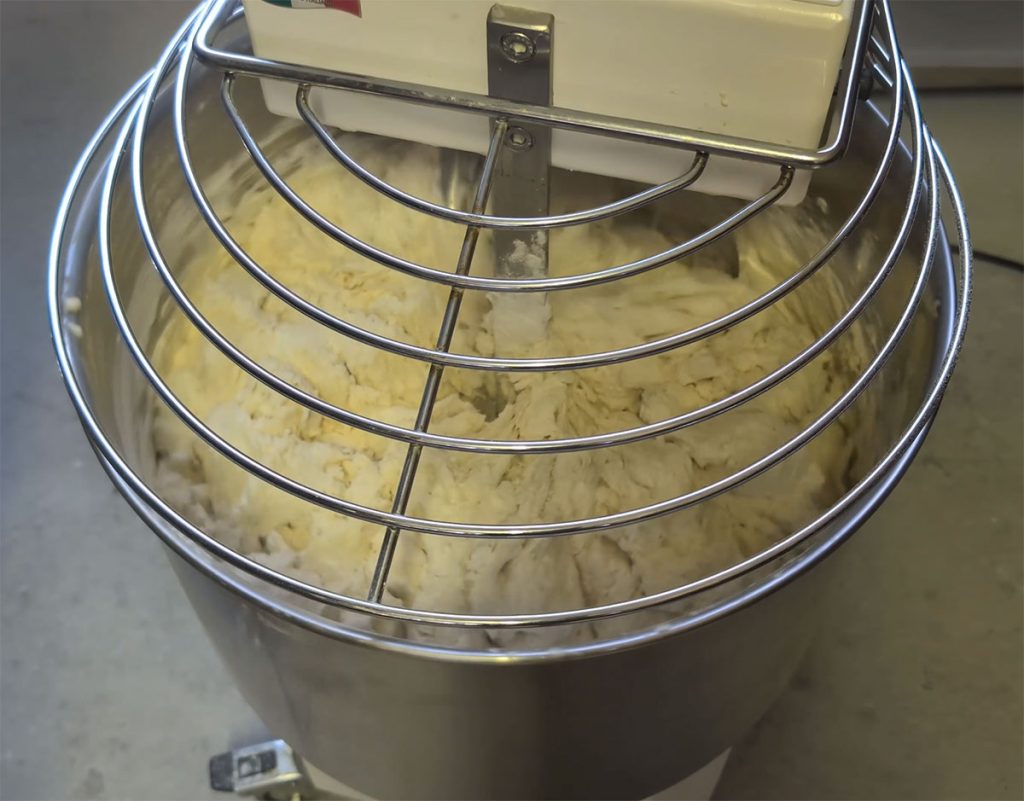
- Add the flour to the spiral mixer in two parts:
- Add the first half and mix until there are no dry spots.
- Add the second half so no flour sticks to the bottom of the bowl.
- Mix on low speed for 5 minutes (I use speed 2 of 10 on my Famag 20).
- Let the dough rest for 30 minutes — this works like an autolyse, letting the flour hydrate and gluten begin forming without overworking the dough.
🙋♂️ Why fermentolyse instead of autolyse?
- Fermentolyse adds the starter from the start, jump‑starting fermentation, shortening the process, and helping gluten develop faster — perfect for busy bakers who don’t want the extra wait.
Step 3: Add Salt, Remaining Water & Finish Mixing
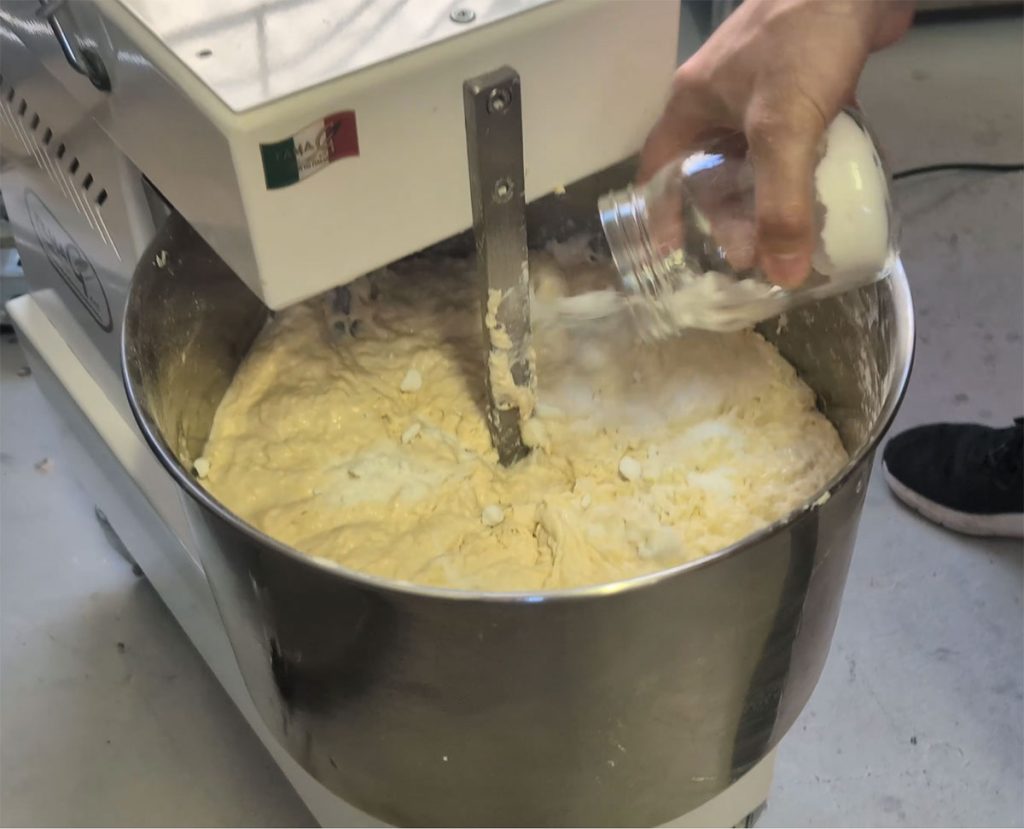
- Add half the salt and half the reserved water. Mix for 20 seconds.
- Add the rest of the salt and water.
- Increase the mixer to medium speed (speed 5 on the Famag).
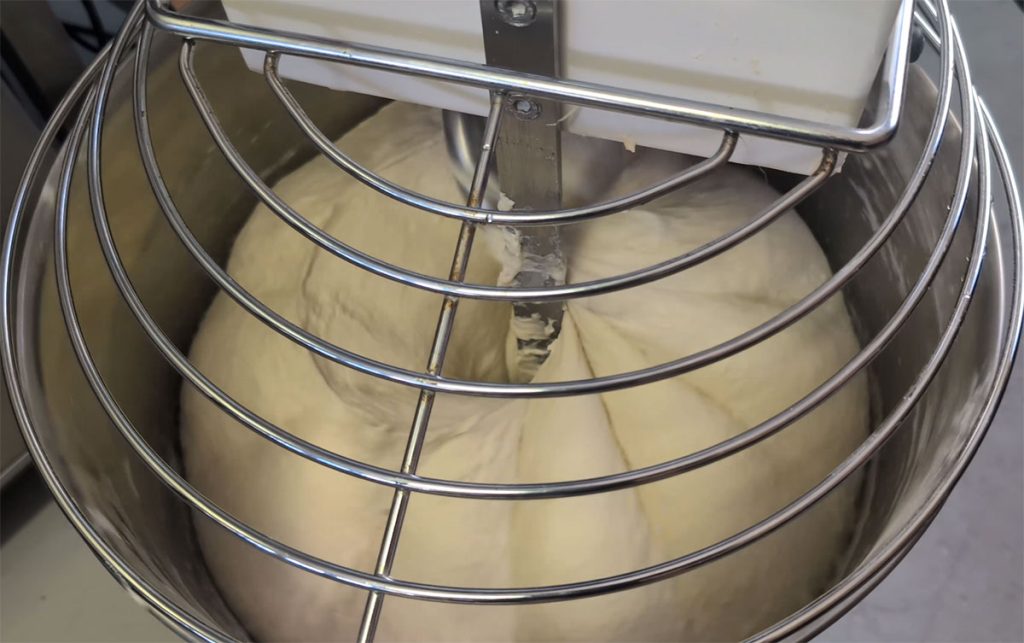
- Mix for 90 seconds to 2 minutes, until the dough:
- Pulls cleanly from the sides of the bowl
- Gets that signature “pumpkin” look
⚠️ Be careful:
- Spiral mixers can over‑mix quickly.
- You can fix slightly under‑mixed dough with stretch and folds later — but once it’s over‑mixed, it becomes sticky and weak.
👉 Why stop short of full gluten development?
- Gentle mixing keeps dough strong while preserving flavor and color.
- Too much oxygen oxidizes the flour — leading to tight gluten, dense or rubbery bread, and stalled bulk fermentation.
Step 4: Rest & Bulk Fermentation
After mixing, leave the dough in the bowl to rest and relax before starting bulk fermentation. (The shaping and proofing steps will follow later — you can see my full process in the video linked at the bottom of this blog post.)
Because we didn’t mix to full gluten development, I recommend doing at least two stretch and folds about 30–45 minutes apart. If the dough still looks flat 45 minutes after your last fold, go for a third fold. But if you see the dough holding a nice curve between folds, that’s a sign you can stop.
I usually do three folds in total, but I’ll check the dough on the third to see if it really needs it. If I’m aiming for a more open crumb and want to be extra gentle, I’ll start with one traditional stretch and fold, then switch to two coil folds. Coil folds are great because you tuck under the dough instead of pulling it out too far — it’s a gentler way to build gluten and it also helps move warmth around the bulk fermentation tub during those long ferment periods.
👉 Tip: More folds aren’t always better — too many can overwork and deflate your dough, so stop once it’s strong and holding shape.
📋 Spiral Mixing At‑a‑Glance
- Low Speed: 5 minutes (flour incorporation)
- Medium Speed: 90 seconds–2 minutes (final mix)
- Rest Period: 30 minutes (fermentolyse/autolyse)
- Water Holdback: 5% for dissolving salt later
- Mixer Speeds Used: 2 (low) & 5 (medium)
💡 Final Thoughts
Mixing sourdough in a spiral mixer takes a bit of finesse. Start slow, watch how your dough behaves, and don’t rush. I know it’s tempting to crank the mixer up to top speed after spending all that money, but slow and gentle wins the race! Save the hard mixing for yeasted breads.
📺 Watch the video: Mixing Sourdough in a Spiral Mixer – 15 Loaves in a Famag 20
My White Sourdough Recipe
450g White Bread Flour
100g Active Sourdough Starter
10g Sea Salt
325ml Water (75%)

