How to Perfect Sourdough Bulk Fermentation
If you’ve ever wondered how to perfect sourdough bulk fermentation, this guide will walk you through my exact process — and the tool that makes it simple: the Billie Olive Aliquot Jar. Bulk fermentation is the backbone of every great sourdough loaf, and learning how to perfect sourdough bulk fermentation means you’ll get dough that rises beautifully, bakes evenly, and delivers an open crumb full of flavor.
In this post, I’ll show you step by step how to perfect sourdough bulk fermentation at home using the Aliquot Jar, sharing my tips from years of baking in my micro bakery so you can confidently track, shape, and bake your dough like a pro.
📦 Unboxing the Billy Olive Aliquot Jar for Perfect Sourdough Bulk Fermentation
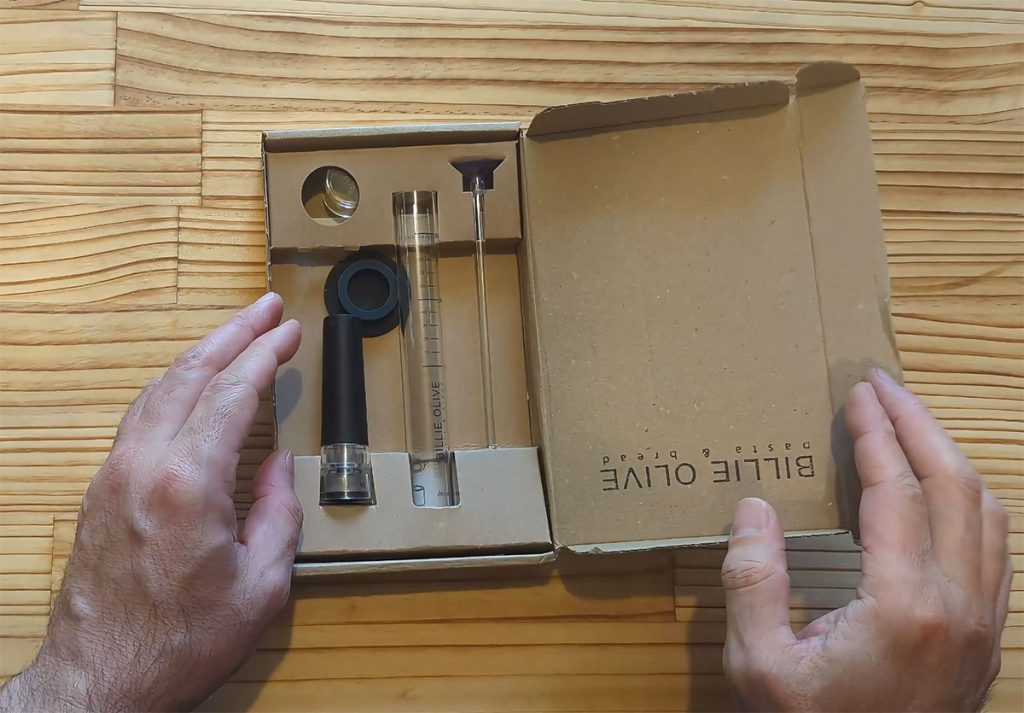
The video kicks off with an unboxing of the jar and its components. Inside the box you’ll find:
- A tall, slim aliquot jar
- A stand to keep it stable
- A pump for precise dough transfer
- A cleaner for easy maintenance
- A lid to seal in your dough
The tall, narrow design instantly stands out — it’s far easier to read than the larger aliquot jars I’ve used in the past, which makes tracking your dough rise simpler and more accurate.
🥣 Prepping the Dough
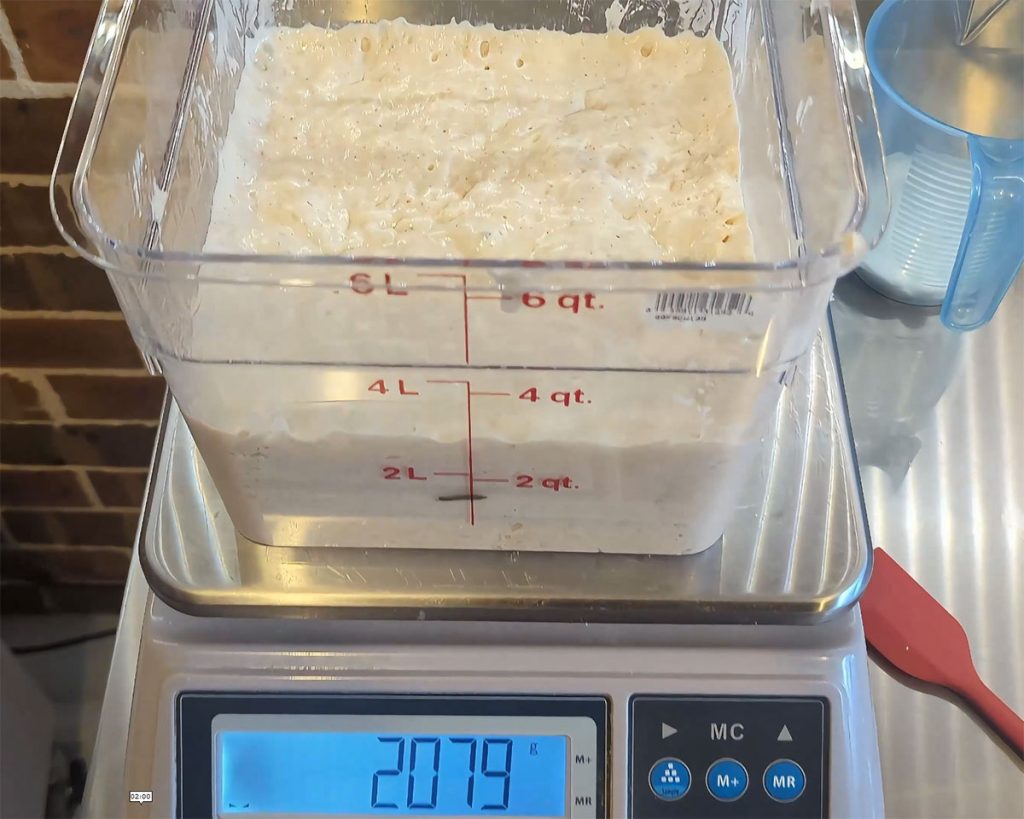
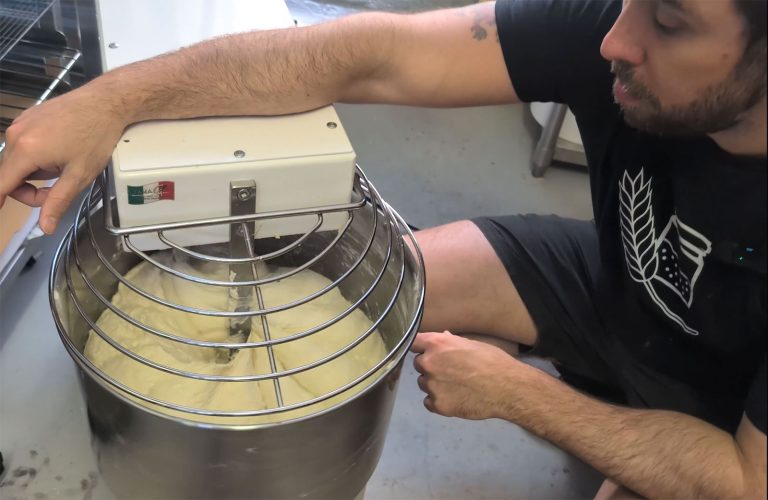
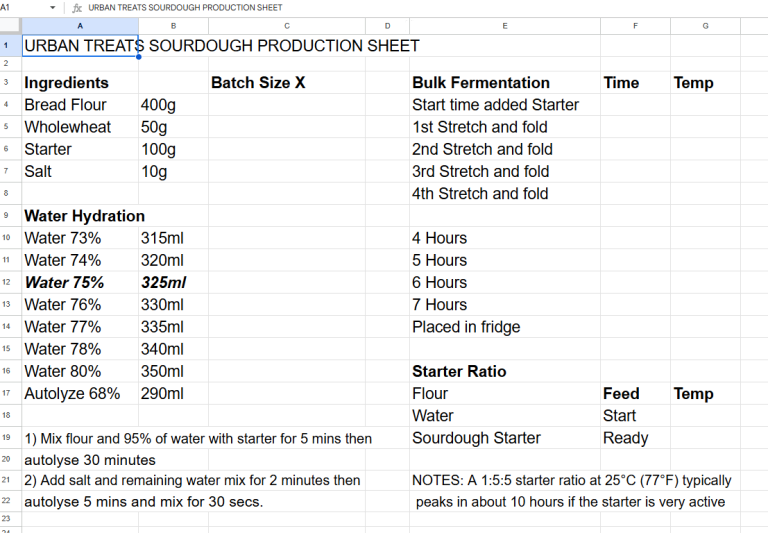
Before the jar even comes into play, the dough needs to be ready — all the ingredients mixed and the dough prepped for bulk fermentation. I try to fill the jar within 30 minutes of adding the sourdough starter to the mix.
I’m not covering mixing here — there’s a full tutorial for that on my blog and Youtube channel — but once that step’s done, everything’s set for a smooth bulk fermentation.
🛠 Using the Pump
The pump is what makes this jar special. A small amount of dough is gently pumped in until it reaches the zero line. It takes a steady hand — push too hard and you’ll overfill — but once it’s level, I remove the pump, gently break the dough with my finger, and cap the jar.

⏳ Monitoring the Bulk Fermentation
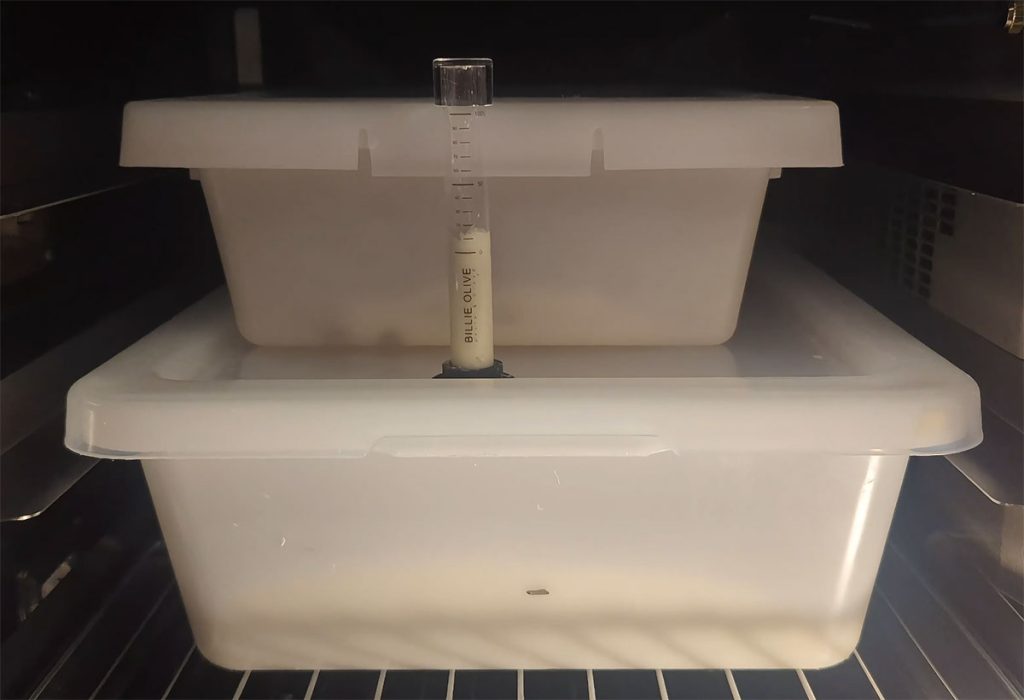
At around 3.5 hours into bulk fermentation, the aliquot jar shows a 20% rise — perfectly mirroring what’s happening in the main dough tub.
I plan to shape at 40% and place the dough in the fridge at 50% for the overnight cold ferment. After that point, the aliquot jar isn’t needed — once it goes into the fridge, it won’t give an accurate reading. The jar is really just for tracking bulk fermentation.
❄️ Shaping & Refrigerating the Dough
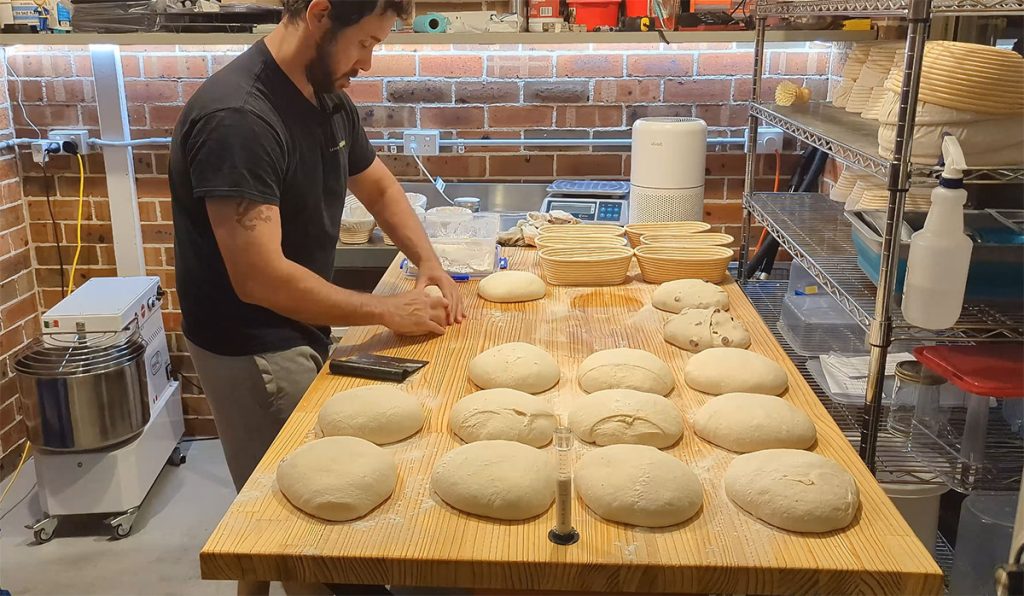
Once the dough reaches a 40% rise, it’s time to shape. The loaves go into bannetons and into the fridge — set at 2 °C (36 °F) if the dough is warm and needs to slow quickly, or if you’re planning a long 24–30 hour cold ferment. If the dough is at room temperature or cooler, I set the fridge to 4 °C (39 °F), especially for a shorter overnight cold ferment of around 8–16 hours.
Stopping at 40% was deliberate — the remaining 10% rise happens naturally during preshaping and shaping.
🧼 Cleaning the Jar
Cleaning couldn’t be easier. The video shows how I:
- Disassemble the jar
- Use the provided plunger to push out the test dough
- Rinse each part under warm water
- Leave it ready for the next bake
It’s quick, hassle-free, and perfect for bakers who don’t want extra chores.

🔥 Baking Day
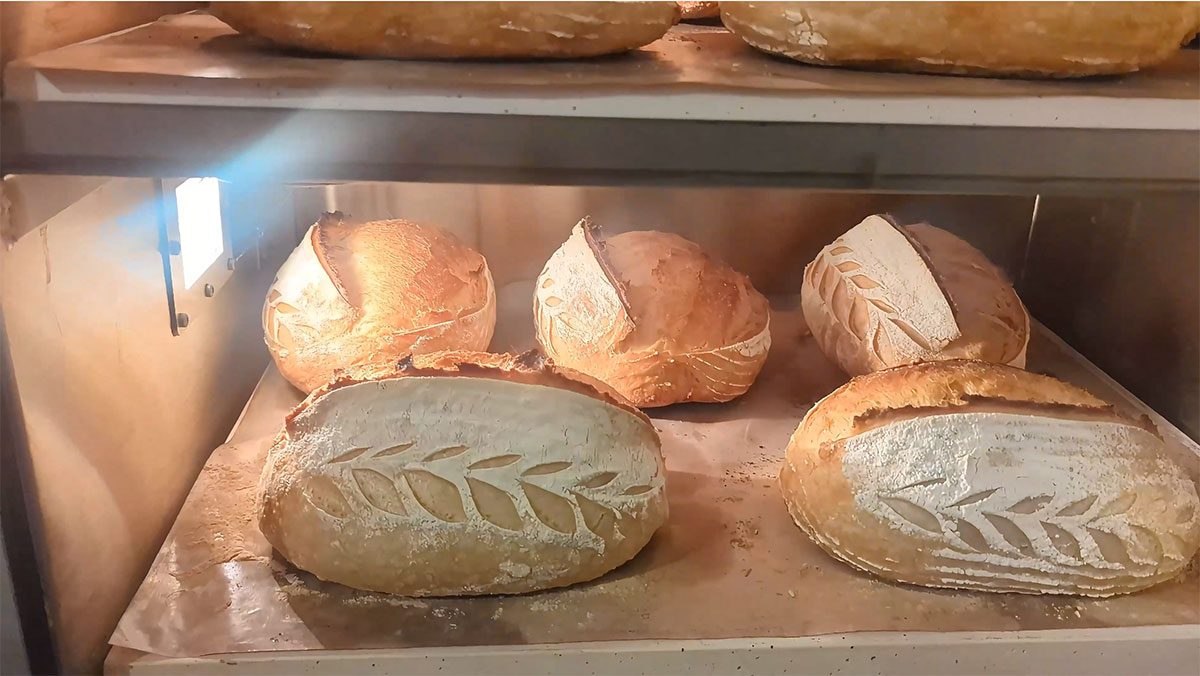
After 16 to 24 hours in the fridge, it’s time to bake. The dough is scored, loaded, and after 25 minutes, the steam is released and baked for another 15 minutes.
The result? A beautiful loaf with a strong rise and excellent crust. After cooling for five hours, the bread is sliced to reveal a satisfying crumb structure.
📈 Final Thoughts & Next Steps
I proofed to 50% at 25 °C (77 °F), and the aliquot jar was spot‑on. Just make sure the jar and bulk dough stay at the same temperature — keep them together if you can. It’s a simple, reliable way to keep fermentation consistent and easy to track.
For anyone serious about sourdough baking, especially micro bakers managing multiple loaves, this jar is a fantastic tool to add to the bench.
🛒 Where to Buy the Billy Olive Aliquot Jar
If you’d like to try the jar I used in this post, you can find it here:
👉 Get the Billy Olive Aliquot Jar here (affiliate link)
This means I earn a small commission if you buy through this link at no extra cost to you – it helps support my baking tutorials and blog!

Bulk fermentation is where the magic really happens — and getting it right changes everything about the final loaf.
How do you track your dough? Do you use an aliquot jar, go by feel, or just watch for visual cues? I’d love to hear how you judge when your dough is ready!
can you bulk ferment in the fridge ir do you have to complete folds 1-3 before adding to the fridge?
I don’t recommend placing your aliquot jar in the fridge, as the cold will affect fermentation and give you inaccurate readings